Welcome to the SPOA10 Installation Manual. This guide provides essential instructions for safe and proper installation of the Rotary SPOA10 lift, ensuring optimal performance and reliability.
1.1 Overview of the SPOA10 Lift
The SPOA10 is a high-performance two-post lift designed for professional and home garage use. With a 10,000 lbs load capacity, it is ideal for lifting trucks, SUVs, and larger vehicles. Its Double-S column design provides exceptional strength and stability, ensuring safe and efficient operation. Suitable for both narrow and wide bays, the SPOA10 offers versatility in installation settings. This lift is a popular choice among automotive enthusiasts and professionals due to its durability, advanced features, and reliable performance. Its robust construction and user-friendly design make it a top-tier option for vehicle maintenance and repair.
1.2 Importance of Proper Installation
Proper installation of the SPOA10 lift is critical to ensure safety, functionality, and longevity. Incorrect installation can lead to structural instability, posing risks to vehicles and personnel. Failure to follow torque specifications (e.g., 110 ft-lbs for anchors) may require concrete replacement under column bases. Improper alignment or anchoring can void the manufacturer’s warranty and compromise safety features. Always adhere to the installation manual to guarantee optimal performance, prevent accidents, and maintain compliance with industry standards. Proper setup ensures reliable operation and protects your investment in the lift and your vehicles. Safety and durability depend on precise installation procedures.
Key Features and Benefits of the SPOA10
The SPOA10 lift offers a 10,000 lbs load capacity, robust Double-S column design, and advanced safety features. It provides versatility, durability, and reliable performance for vehicle maintenance and service.
2.1 Load Capacity and Specifications
The SPOA10 lift is designed to handle vehicles up to 10,000 lbs, making it suitable for a wide range of cars, trucks, and SUVs. Its robust construction ensures durability and stability during lifting operations. The lift features adjustable column spacing, accommodating various vehicle widths, and is equipped with advanced safety mechanisms to prevent accidents. With a maximum lifting height of 68 inches, it provides ample clearance for maintenance and repairs. The SPOA10 is built to meet rigorous industry standards, ensuring reliable performance and longevity in any professional or home garage setting. Proper installation is crucial to maximize its capabilities.
2.2 Design and Construction
The SPOA10 lift features a robust Double-S column design, providing exceptional strength and stability. Constructed from high-quality steel, it ensures durability and resistance to wear. The single-piece column construction minimizes weld points, enhancing structural integrity. The lift’s carriage is designed for smooth operation, with precision-engineered safety latches and arm locks. The arms are built with a durable powder-coated finish, protecting against corrosion. Over-engineered components ensure long-term reliability, making the SPOA10 suitable for heavy-duty use in professional and home garages. Its design prioritizes safety, efficiency, and ease of use, delivering a superior lifting experience.
2.3 Safety Features
The SPOA10 lift is equipped with multiple safety features to ensure secure operation. It includes spring-loaded safety locks and automatic arm locks that engage once the vehicle is lifted, preventing accidental lowering. The lift also features overload protection, which prevents operation beyond its rated capacity. Additionally, the emergency stop mechanism allows for immediate shutdown if an issue arises. These features, combined with its sturdy construction, provide peace of mind for users. Regular maintenance and adherence to installation guidelines further enhance safety, making the SPOA10 a reliable choice for vehicle lifting in both professional and home settings. Always follow safety protocols during use.

System Requirements and Specifications
The SPOA10 lift requires a concrete floor with a minimum thickness of 4 inches and a compressive strength of 3,000 PSI. Proper electrical connections and ventilation are essential.
3.1 Technical Specifications
The SPOA10 lift features a 10,000 lbs capacity, ideal for handling most vehicles. It requires a 208-230V, 1-phase, 60Hz power supply and 20 amps for operation. The lift’s overall height is 12 feet, with an optional 14-foot extension kit available. It is designed for installation on a 4-inch thick concrete floor with a minimum strength of 3,000 PSI. The lift includes anchor bolts for secure mounting and weighs approximately 1,350 lbs. These specifications ensure stability and durability, making the SPOA10 suitable for professional and home garages. Proper installation adheres to these technical requirements for safe and efficient use.
3.2 Space and Dimension Requirements
The SPOA10 lift requires a minimum ceiling height of 12 feet for standard operation and 14 feet if using the optional extension kit. The recommended bay width is between 9 feet 6 inches and 10 feet for proper installation. Ensure the floor is 4 inches thick with a strength of 3,000 PSI for secure anchoring. The lift’s base plates must be anchored to the concrete floor using the provided bolts, spaced according to the manufacturer’s template. Proper spacing and alignment are critical for safety and functionality. These dimensions ensure the lift fits securely in most standard garage setups.

Installation Process
The installation process involves preparing the site, unpacking components, assembling the lift, anchoring it to the floor, and aligning the columns. Conduct a final inspection before first use.
4.1 Pre-Installation Steps
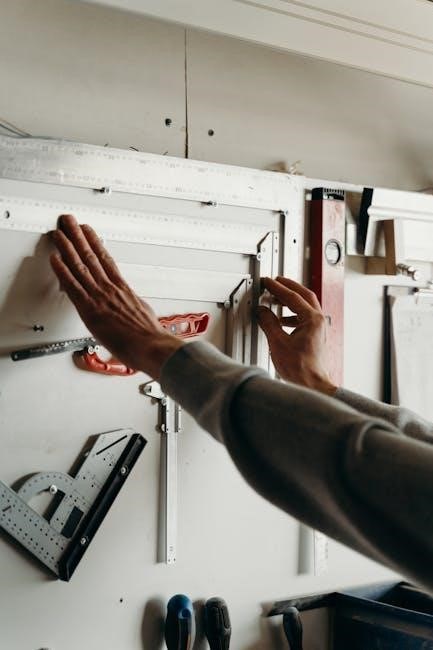
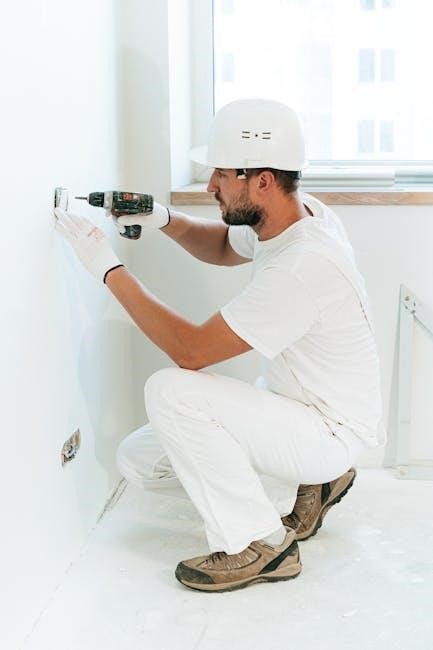
Before starting the installation, ensure the garage floor is level and strong enough to support the lift. Check the floor thickness and concrete condition. Verify all necessary tools and components are available. Review the manual thoroughly. Measure the space to ensure proper fit. Mark the floor where the lift will be anchored, following the manufacturer’s template. Clean the area to prevent debris interference. If installing near walls or obstructions, ensure clearance for the arms. Double-check all safety precautions to avoid accidents during installation. Proper preparation ensures a smooth and safe setup process.
4.2 Unpacking and Inventory
Begin by carefully unpacking all components, including the columns, arms, and hardware. Verify each item against the packing list to ensure completeness. Inspect all parts for damage or defects. If any items are missing or damaged, contact customer support immediately. Organize the components in a clean, dry area to prevent loss or misplacement. Use a torque wrench to ensure proper tightening of bolts and anchors during installation. Refer to the manual for specific torque requirements, such as 110 ft-lbs for anchor bolts. Proper inventory and inspection are crucial for a successful and safe installation process.
4.3 Assembling the Lift
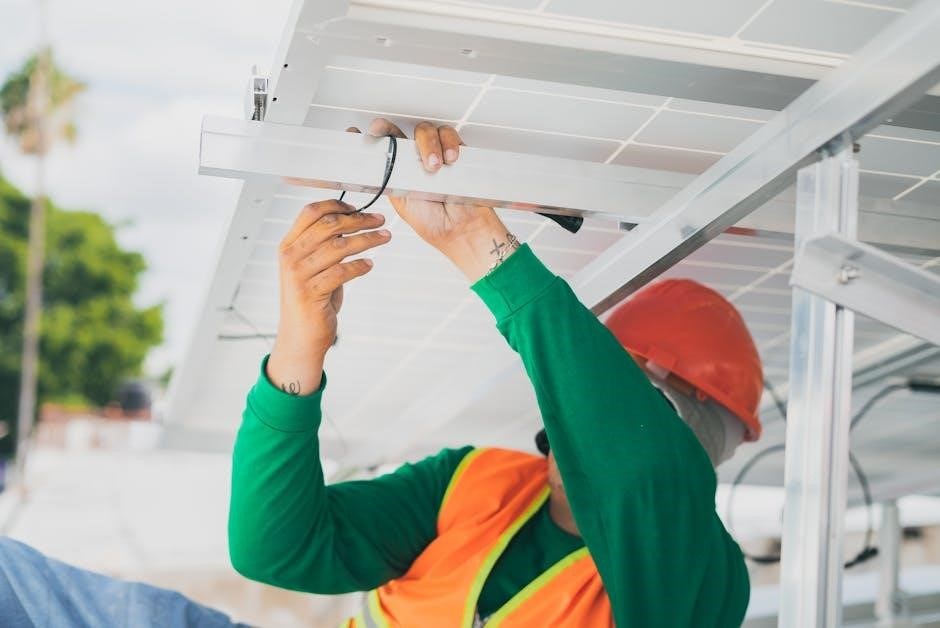
Assemble the lift by attaching the carriage to the column using the provided hardware. Align the arms according to the manufacturer’s specifications and secure them tightly. Ensure all bolts are torqued to the recommended specifications to maintain structural integrity. The Double-S column design provides added strength and stability during assembly. Proper alignment is critical to ensure smooth operation and safety. Follow the step-by-step instructions carefully to avoid misassembly. Double-check all connections before proceeding to the next step. This ensures the lift is stable and ready for anchoring.
4.4 Anchoring the Lift
Anchoring the lift is a critical step to ensure stability and safety. Drill (10) 3/4″ diameter holes in the concrete floor, using the column base plate as a guide. Ensure holes are drilled to the correct depth and spacing as specified in the manual. Secure the lift by tightening the anchor bolts to the recommended torque of 110 ft-lbs (149 Nm). If the torque cannot be achieved, inspect the concrete and replace it if necessary. Proper anchoring prevents lift movement and ensures reliable operation. Always follow the manufacturer’s instructions for a secure installation.
Safety Considerations
Adhering to safety guidelines is crucial for proper installation and operation. Always follow manufacturer instructions and perform regular inspections to ensure the lift operates safely and efficiently.
5.1 General Safety Precautions
Ensure the area is clear of obstacles and personnel before installation. Always wear protective gear, including gloves and safety glasses. Verify all components are undamaged and correctly assembled. Follow torque specifications for anchor bolts, ensuring they meet the required 110 ft-lbs. Properly level the lift to prevent uneven operation. Regularly inspect the lift for wear and tear. Never exceed the load capacity of 10,000 lbs. Keep the manual accessible for reference. Adhere to local building codes and regulations during installation and operation.
5.2 Safety Devices and Features
The SPOA10 lift is equipped with a robust safety system to ensure operator and vehicle protection. The exclusive Double-S column design enhances structural integrity and provides a secure carriage channel. Automatic safety arms with a redundant locking mechanism prevent accidents during lifting. Overload protection safeguards against exceeding the 10,000 lbs capacity. Emergency stop systems allow immediate shutdown in critical situations. Regular inspection of safety devices is crucial to maintain reliability. Always follow manufacturer guidelines for testing and maintaining these features to ensure optimal performance and user safety throughout the lift’s operational life.

Choosing the Right Model
This section helps you select the ideal lift by comparing SPOA10 with other models, ensuring the chosen lift meets your garage’s specific needs and capacity requirements.
6.1 SPOA10 vs. SPOA7
The SPOA10 and SPOA7 differ primarily in load capacity, with the SPOA10 offering a 10,000 lbs capacity compared to the SPOA7’s 7,000 lbs. This makes the SPOA10 suitable for heavier vehicles, while the SPOA7 is ideal for smaller garages or lighter vehicles. The SPOA10 also features a narrower bay setting, enhancing space efficiency. Both models share similar design and safety features, but the SPOA10’s higher capacity and versatility make it a preferred choice for those needing to lift larger vehicles. Ensure your garage requirements align with the chosen model’s specifications.
6.2 SPOA10 vs. SPOA10NB
The SPOA10 and SPOA10NB are both 10,000 lbs capacity lifts, designed for heavy-duty use. The key difference lies in their arm design. The SPOA10 features standard arms, while the SPOA10NB includes narrower arms, providing better clearance in tight spaces; This makes the SPOA10NB ideal for narrower garage bays or specific vehicle types. Both models share the same installation requirements and safety features, ensuring reliability and durability. Choose the SPOA10NB if space is a concern, otherwise, the SPOA10 offers versatile performance for most applications. Always consider your garage dimensions and vehicle needs when selecting.

Common Installation Mistakes
Common installation mistakes include incorrect anchoring and improper alignment. Ensure all bolts are tightened to the specified torque and the base is level. Refer to the manual for precise instructions.
7.1 Incorrect Anchoring
Incorrect anchoring is a critical installation mistake. Ensure all anchor bolts are tightened to the specified torque of 110 ft-lbs (149 Nm). If anchors fail to meet this torque, replace the concrete under each column base. Proper anchoring prevents lift instability and ensures safety. Always follow the manufacturer’s instructions for drilling holes and setting the base plates. Failure to anchor correctly can lead to structural issues and void the warranty. Refer to the manual for detailed steps to avoid this common error.
7.2 Improper Alignment
Improper alignment of the SPOA10 lift can lead to uneven lifting and safety hazards. Ensure the lift columns are plumb and properly aligned during installation. Misalignment can cause uneven weight distribution, potentially damaging the lift or the vehicle. Always use a level to verify vertical alignment and check that the base plates are securely fastened. If alignment issues persist, consult the installation manual or contact technical support. Proper alignment is crucial for smooth operation and longevity of the lift. Failure to align correctly may result in instability or equipment failure, compromising safety and performance.

Maintenance and Upkeep
Regular lubrication of moving parts and thorough inspection of wire ropes and safety latches are essential for maintaining the SPOA10 lift’s optimal performance and longevity.
8.1 Regular Maintenance Schedule
A regular maintenance schedule is crucial to ensure the longevity and safe operation of the SPOA10 lift. Start by lubricating all moving parts every 1,000 cycles or every three months, whichever comes first. Inspect the wire ropes for any signs of wear or fraying and replace them immediately if damage is detected. Safety latches should be checked monthly to ensure they engage and disengage properly. Additionally, test the lift’s safety features, such as the emergency stop, on a monthly basis. Keep a log of all maintenance activities for future reference and compliance purposes. Regular maintenance not only prevents unexpected breakdowns but also ensures the lift continues to operate at its maximum capacity, providing reliable service for years to come.
8.2 Lubrication and Inspection
Lubrication and inspection are vital for maintaining the SPOA10 lift’s performance and safety. Lubricate all moving parts, such as bearings and hinges, every 1,000 cycles or three months using a high-quality grease. Inspect wire ropes for frays or wear and replace them if damaged. Check hydraulic lines for leaks and ensure all safety latches function properly. Regularly examine the lift’s frame and arms for any signs of structural damage or corrosion. Replace worn or damaged components promptly to prevent malfunctions. Keep detailed records of inspections and maintenance to ensure compliance with safety standards and extend the lift’s lifespan.
Manufacturer’s Warranty
The SPOA10 is backed by a comprehensive manufacturer’s warranty, covering parts and labor for a specified period. This ensures protection against defects and promotes customer confidence.
9.1 Coverage and Duration
The SPOA10 manufacturer’s warranty offers coverage for parts and labor, with specific durations depending on the component. The lift’s structural components are typically covered for an extended period, while wearable parts may have a shorter coverage duration. The warranty period begins from the date of purchase and is non-transferable. For detailed terms, refer to the warranty agreement provided with the product. Proper installation and maintenance are essential to uphold warranty validity.
9.2 Exclusions and Limitations
The SPOA10 warranty excludes coverage for damage caused by improper installation, misuse, or neglect. Normal wear and tear, as well as cosmetic damage, are not covered. Modifications or repairs made without manufacturer approval may void the warranty. Additionally, damage resulting from natural disasters, accidents, or excessive loads beyond the specified capacity is excluded. The warranty does not cover consequential damages or labor costs for repairs not authorized by the manufacturer. For full details, review the warranty agreement provided with the product.

Customer Support and Resources
Rotary offers comprehensive support, including online manuals, product videos, and technical assistance. Customers can access resources like installation guides and troubleshooting tips for the SPOA10 lift.
10.1 Technical Support
Rotary provides dedicated technical support to assist with SPOA10 installation and operation. Experts are available to address inquiries, troubleshoot issues, and ensure a smooth setup process. Online resources, including detailed manuals and instructional videos, complement direct support, offering comprehensive guidance for users; Whether you’re installing or maintaining the lift, Rotary’s technical team and accessible materials help maximize efficiency and safety, ensuring your SPOA10 performs optimally in your garage or workshop setting.
10.2 Online Manuals and Guides
Rotary offers comprehensive online resources, including downloadable PDF and text files of the SPOA10 installation manual. These guides provide detailed instructions, diagrams, and specifications to ensure proper setup and use. Additionally, product videos and buyer’s guides are available, covering key features, benefits, and cost factors. Users can access these materials on Rotary’s official website or through authorized distributors. The online manuals are regularly updated to reflect the latest improvements and standards, ensuring users have the most accurate and helpful information at their fingertips for a successful installation and maintenance experience.
Congratulations! You’ve completed the SPOA10 installation manual. Proper installation ensures safety and reliability. Review all steps, and contact support for any questions. Happy lifting with your 10,000 lbs capacity lift!
11.1 Final Thoughts
Completing the SPOA10 installation marks a significant milestone. Ensure all steps are followed meticulously for optimal performance and safety. The lift’s 10,000 lbs capacity and advanced features guarantee reliability. Regular maintenance and adherence to safety guidelines are crucial for longevity. If questions arise, consult the manual or contact Rotary’s technical support. Proper installation ensures years of trouble-free operation. Take pride in your setup, knowing it meets industry standards. Enjoy the convenience and efficiency of your new SPOA10 lift, designed to handle heavy-duty tasks with ease and precision.
11.2 Next Steps
After completing the installation, register your SPOA10 lift to activate the manufacturer’s warranty. Schedule regular maintenance checks and inspections as outlined in the manual. Familiarize yourself with the lift’s operation and safety features. For any questions or concerns, contact Rotary’s technical support or refer to the online resources, including manuals and instructional videos. Ensure all users are trained on proper lift operation. Keep the installation manual handy for future reference. By following these steps, you’ll ensure the longevity and safe operation of your SPOA10 lift, maximizing its performance and reliability.